How to Upgrade to FreeBSD 12.0

On December 11th, 2018, FreeBSD 12.0 was released. This is the first release of the 12.x branch, which has been in testing for well over a year.
Don’t fret if your system is still running on the 11 branch – the FreeBSD organization estimates that it’ll be supported until September 2021. However, FreeBSD 10.x has reached end-of-life as of October 2018. It’s important to upgrade from 10.x because the system is no longer receiving kernel security updates or bugfixes! FreeBSD is designed with security in mind but that doesn’t mean it’s immune to security holes. You can upgrade directly from 10.x or 11.x to 12.x using this guide. You may need to upgrade to an intermediate release if you’re running 9.x or older.
12.0 is a relatively minor update mainly containing updated components. Additional features and fixes come as part of the updates, from ls to xz. More hardware is also supported, including basic support for Raspberry Pis! Read the full release notes here. Also be sure to check out the errata which lists any issues that may be encountered while upgrading.
Ensure your system is backed up before upgrading!
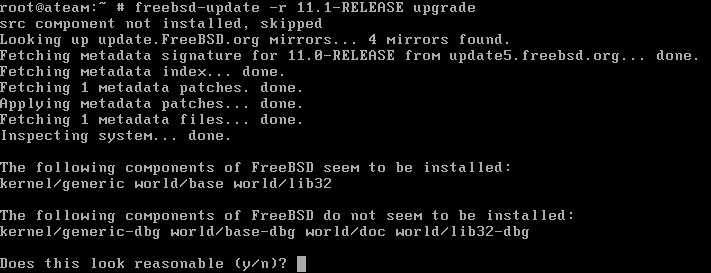
Once you’re all set you can begin the upgrade process by logging in as root or typing su as a regular user to elevate. Simply run
freebsd-update -r 12.0-RELEASE upgrade
The updater will grab metadata from a FreeBSD update server and prepare for the upgrade. It will double check that it’s updating all of the components that are installed before proceeding.
Thousands of patches will then be downloaded. This can take a while depending on your internet connection speed.
If the error message “The update metadata is correctly signed, but failed an integrity check. Cowardly refusing to proceed any further” you need to finish some prior updates first. Do this by running:
freebsd-update fetch
freebsd-update install
A reboot may be required.
After all of the patches are downloaded the current configuration files will be checked against the defaults for the new version. Any differences will be displayed in a manner similar to performing a diff on a file. Check the differences to see if any changes will break something in the system.
The updater will then list all of the files being added, removed, and changed. You can either scroll through each screen to see the changes or hit the Q key to proceed to the next screen. When all changes have been displayed, you’ll be asked to run:
freebsd-update install
to apply the kernel patches. After a few minutes you’ll be asked to reboot the machine and run the same command to apply the userland patches.

You may be asked to reboot a few times, re-running freebsd-update install each time. In addition, you may be told that software installed with pkg needs to be rebuilt. Go ahead and give the installer permission. It won’t take too long.
Finally you’ll be asked to rebuild any third-party software that have been installed from the ports system.
If you haven’t installed any software from the ports collection, you’re all done! Skip to the next heading.
If you need to rebuild third-party software, run:
portmaster -af
If portmaster is not found, you can install it easily by running:
pkg install portmaster
Depending on how many ports have been installed, the process can take a very long time. When it’s done, complete the upgrade process by running
freebsd-update install
for the final time.
Although it’s not required, you should reboot once more to make sure the system still comes up after the upgrade.
To make sure the upgrade was successful, run
freebsd-version
If the returned version starts with 12.0-RELEASE, you’re all set!
Make sure to keep the system patched going forward to ensure a happy and healthy FreeBSD install. You should also immediately update any software installed with pkg. Some may need to be upgraded to be compatible with 12.0.
[…] Also note that FreeBSD 11 goes end-of-life in September 2021. If you haven’t upgraded to 12 by then your system will stop receiving important updates. Check out my guide to see how to update to FreeBSD 12. […]